
Hidden Wall Leak Detection That Finds the Source
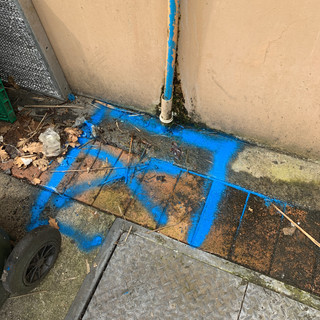
A damp patch that keeps returning after repainting is rarely just a decorating problem. It may be a slow plumbing leak, moisture entering through an exterior wall, or water tracking from somewhere well away from the visible stain. Hidden wall leak detection is the practical way to find out what is happening before unnecessary wall removal, mould growth or larger repair costs follow.
For Auckland homes and commercial buildings, the right answer depends on the source of the water. A leaking pipe inside a wall needs a different repair from failed exterior waterproofing, a roof leak or moisture rising from below. The job is to test, identify the likely water path and make repairs only where the evidence supports them.
Signs a leak may be hidden behind a wall
Some wall leaks are obvious, particularly after a burst pipe. More often, they develop slowly and show up as small changes that are easy to put off. A yellow or brown ceiling or wall mark, bubbling paint, lifting wallpaper, swollen skirting boards and a musty smell all warrant investigation.
You may also notice a wall that feels unusually cold or damp, even when the room is well ventilated. In bathrooms, laundries and kitchens, loose tiles, cracked grout or persistent dampness around plumbing fixtures can indicate water escaping behind the lining. In a commercial property, complaints about odours, damaged finishes or recurring moisture in the same area should be treated as a maintenance issue rather than patched over.
A higher-than-normal water bill is another useful clue. If the water meter continues to move when taps, appliances and irrigation are off, there may be a leak on the supply line. That does not confirm the leak is in a wall, but it tells you further testing is worthwhile.
Not every damp wall is caused by a pipe. Condensation can affect poorly ventilated rooms, while wind-driven rain can enter through cracks, flashings, cladding joints, windows or failed waterproofing. The visible wet area is often the result of water travelling along framing, pipework or building materials, so guessing from the stain alone can lead to the wrong repair.
How hidden wall leak detection works
A proper investigation starts with the building history and the symptoms. Knowing when the dampness appears matters. Does it worsen after rain, when the shower is used, after the washing machine drains, or all the time? Has the water bill changed? Is the affected wall internal or external? These details help narrow down the tests required.
Technicians then inspect the area and take moisture readings across the wall, floor and adjoining surfaces. Moisture testing helps map the extent of damp material and can show whether the issue is concentrated around a pipe route or spread more broadly from an external entry point. It also provides a baseline for checking whether an area dries after repairs.
Thermal imaging for a wider view
Thermal imaging can identify temperature differences across a surface. Evaporating moisture often makes an area appear cooler than the surrounding wall, helping locate patterns that are not visible to the eye. It is especially useful for scanning a larger section of wall quickly and identifying where closer testing should focus.
Thermal imaging does not see water through walls or prove a pipe has failed on its own. Wall construction, insulation, sunlight and indoor temperatures can affect the image. Used alongside moisture readings and site observations, however, it is a valuable non-invasive diagnostic tool.
Acoustic testing for pressurised pipe leaks
Water escaping from a pressurised pipe can create a sound or vibration. Specialist acoustic listening equipment can pick up these noises and help narrow down the leak location, particularly where the pipe route is known or can be traced.
The result depends on the pipe material, water pressure, depth, surrounding construction and background noise. Plastic pipes can be more difficult to listen to than older metal pipes, and busy commercial sites may need testing arranged at a quieter time. This is why experienced diagnosis combines methods rather than relying on one device.
Pipe tracing and targeted indoor testing
Where a pipe route is uncertain, trace-wire pipe location equipment can help identify where underground or concealed services run before invasive work begins. For wall-related issues, indoor testing may include isolating plumbing sections, checking pressure changes or testing individual fixtures to establish whether water use triggers the problem.
The goal is not to create a large opening in the wall to search for a leak. It is to reduce the search area first, then recommend the smallest practical access point if a repair is required. That can save considerable disruption in tiled bathrooms, finished offices, apartments and occupied homes.
When the source is not a plumbing pipe
A hidden water problem in a wall can come from several directions. Shower waterproofing may have failed behind tiles. Water may be entering around a window or cladding detail during heavy rain. A blocked gutter, roof penetration or damaged flashing can send water down framing before it appears on a wall below. Basement walls and retaining-side structures can also allow moisture through when waterproofing has deteriorated.
The repair should follow the diagnosis. Replacing pipework will not stop rainwater entering around a window, and sealing a visible crack will not repair a pressurised pipe leak behind the lining. Where testing points to waterproofing or external water entry, the solution may involve targeted waterproofing work rather than plumbing repairs.
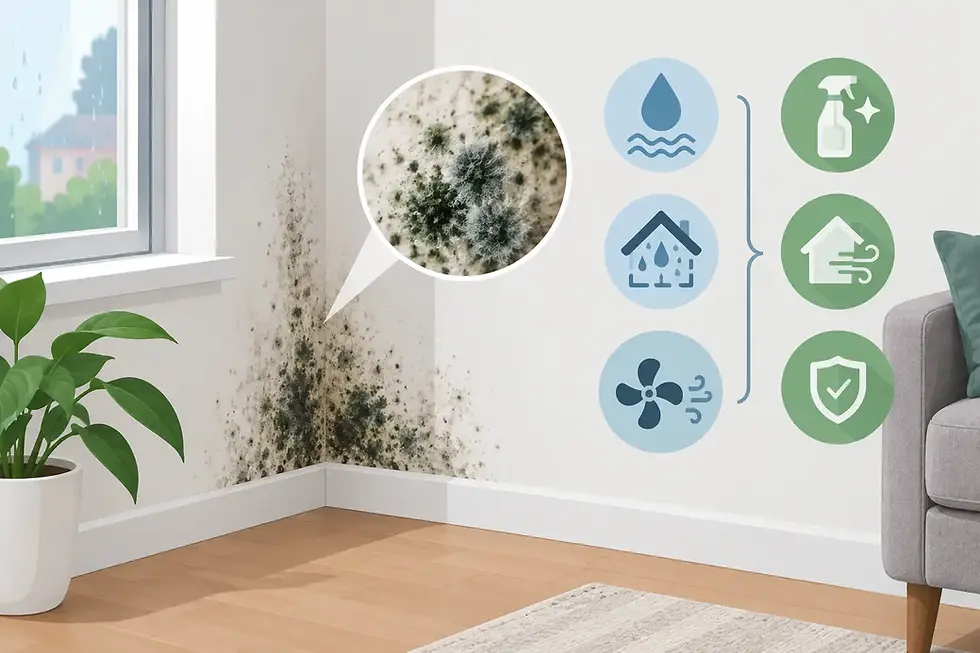
This distinction matters because temporary fixes can hide the evidence while water continues to damage timber, insulation, plasterboard or structural materials. If mould is present, the affected area may also need proper drying and remediation after the water source has been stopped.
What to do when you find a damp wall
Act promptly, but avoid making the problem bigger. If water is actively flowing, turn off the relevant fixture or the main water supply if necessary. If water is close to power points, switches or electrical equipment, keep clear of the area and arrange electrical advice as well as leak investigation.
Take photos of stains, bubbling paint and any water meter readings. Note recent rain, appliance use or shower use that seems linked to the problem. These observations can shorten the diagnostic process.
Avoid repeatedly repainting, drilling exploratory holes or removing large sections of wall before testing. Opening up can be necessary once the likely location is established, but random demolition adds cost and can make a simple repair harder to contain. Running dehumidifiers or increasing ventilation may help limit surface moisture, but neither fixes an active leak.
For landlords, property managers and facilities teams, early testing also helps document the cause and plan work around tenants or business operations. A small leak can become an insurance, mould and access issue if it is allowed to continue unnoticed.
Repairs should match the evidence
Once the source and location are identified, you can make a clearer decision about repair options. A localised pipe failure may only need a small access opening and pipe repair. Old or repeatedly failing pipework may make replacement of a section more economical. If the issue is related to a shower, exterior wall or basement, waterproofing repairs may be the appropriate next step.
Budget matters, but so does the likely lifespan of the repair. A technician should explain what testing has found, what remains uncertain, and whether a targeted repair or a broader replacement is sensible for the condition of the system. Water Leaks Auckland uses non-invasive testing to provide that information before repair work is planned.
A damp wall does not always mean major damage, but it should not be ignored. Finding the source early gives you the best chance of keeping the repair contained, protecting the building fabric and getting the area dry properly.


Comments