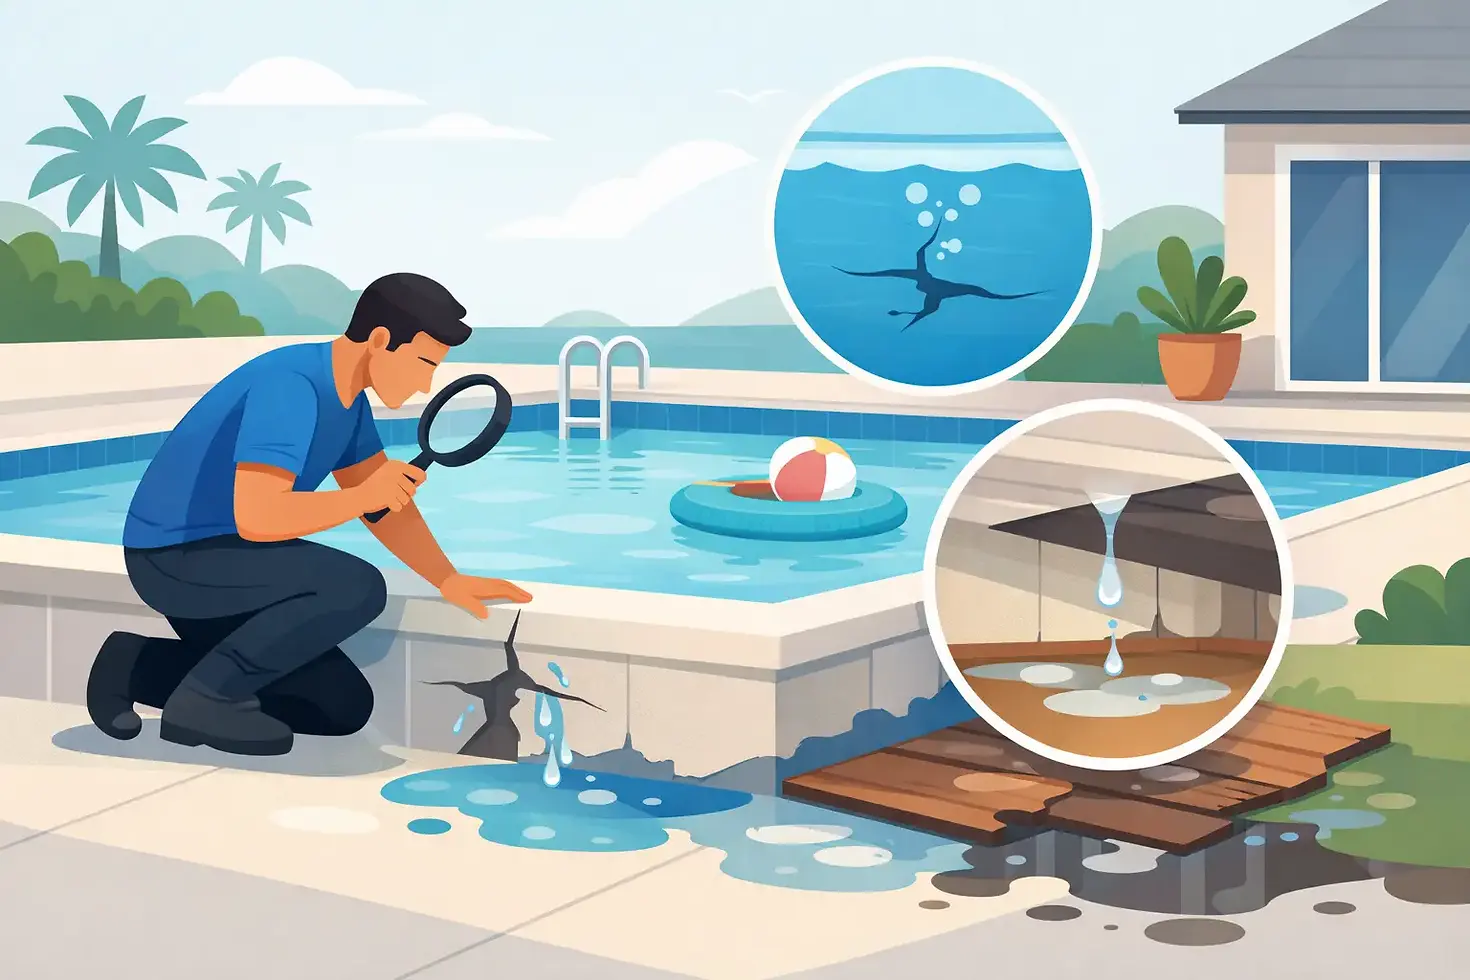
How to Detect a Pool Leak Before Damage Spreads
A pool that needs topping up every few days is not just frustrating. Lost water can undermine paving, affect surrounding ground, increase chemical use and, in some cases, point to a problem in pipework or the pool shell. Knowing how to detect a pool leak starts with separating normal evaporation from water loss that needs attention.
Auckland’s weather, wind exposure, pool heating and whether the pool is covered all affect evaporation. That is why a quick look at the waterline is rarely enough. A few simple checks can give you useful evidence before a specialist test identifies the exact source.
First, rule out normal evaporation
Most outdoor pools lose some water naturally. On warm, windy days, an uncovered pool may lose several millimetres of water. Heated pools can lose more, particularly overnight when there is a large difference between water and air temperature.
Evaporation does not usually cause wet ground around the pool equipment, a sudden drop in water level, or a level that continues to fall noticeably during cool, still weather. If you are adding enough water to change the balance of pool chemicals regularly, it is worth testing rather than assuming it is seasonal loss.
Check the obvious places first. Look for dripping unions around the pump, filter and heater, wet patches beneath equipment, loose drain plugs, damaged seals and water running from a waste line. A small equipment leak can be easy to miss because it may only occur while the circulation system is operating.
How to detect a pool leak with a bucket test
The bucket test is a straightforward way to compare pool water loss with evaporation. It will not tell you where a leak is, but it helps confirm whether the pool is losing more water than it should.
Fill a bucket with pool water and place it on a pool step so it sits partly in the water but cannot float away. The water inside the bucket should be at roughly the same level as the pool water outside it. Mark both water levels with tape or a waterproof marker.
Turn off the automatic top-up, if fitted, and avoid swimming or backwashing during the test. Leave the pool uncovered for 24 hours, then compare the two marks. The bucket and pool experience similar weather conditions, so their levels should fall by a similar amount if evaporation is the only cause.
If the pool level has dropped more than the bucket level, a leak is likely. Repeat the test with the pump running for a day, then with the pump off for a day if practical. Greater water loss while the equipment is running can indicate a pressure-side pipe leak, a leaking return fitting or an equipment issue. Greater loss with the system off may point to the pool structure, suction pipework or a fitting below the waterline.
Keep in mind that rain, heavy wind and a pool cover can distort the result. Start again when conditions are more settled rather than relying on an unclear test.
Watch where the water level stops
Letting a leaking pool drop can provide another clue, but only do this with care. Do not drain a pool completely to look for a leak. Groundwater pressure can damage an empty in-ground pool, and an empty pool can also create safety risks. If the water level is dropping quickly, seek advice before allowing it to continue.
When the water level settles at a particular height, inspect components at that line. The leak may be near a skimmer opening, return inlet, light fitting, tile line, crack, suction fitting or other penetration through the pool shell. This is a clue, not proof. Water can travel behind a lining or through surrounding ground before becoming visible elsewhere.
For vinyl-lined pools, inspect seams, corners and areas around fittings for tears or loose sections. In concrete pools, look for fine cracks, deteriorated joints, loose tiles or gaps around penetrations. A crack you can see is not always the leaking point, and a leak can be present where there is no visible damage at all.
Inspect the pool equipment and surrounding ground
The pump area is often the quickest place to find a problem. Check it when the system is running and again after it has been switched off. Pay attention to the pump lid O-ring, filter connections, multiport valve, chlorinator, heater, pipe joints and any flexible hoses. White residue, corrosion, damp dust or staining can indicate a slow leak that evaporates before it forms a puddle.
Also walk around the outside of the pool. Persistent soft ground, unusually green grass, damp paving, staining on a retaining wall or a hollow area beneath pavers can all be signs of escaping water. These signs deserve investigation, but they do not reliably identify the pipe or fitting at fault. Rainwater, irrigation and poor drainage can create similar symptoms.
If the pool is close to the house, take unexplained dampness seriously. Moisture can move through soil and building materials, so a wet wall or floor may be related to pool plumbing, stormwater or another water service. Proper testing avoids repairing the wrong problem.
Use dye only for close-up checks
A small amount of pool-safe dye can help test a suspected crack or fitting. With the pump switched off and water as still as possible, release dye near the area without stirring the water. If there is an active opening, the dye may be drawn towards it.
Dye testing works best for visible, accessible points such as a light fitting, skimmer throat, return inlet or obvious crack. It is not a dependable whole-pool test. Wind, water movement and poor visibility can make results misleading, while leaks in buried pipework cannot be found with dye from inside the pool.
Avoid using household dyes, food colouring or products that may stain the lining or interfere with water chemistry. If you are unsure, leave this step to a pool leak technician.
When a pool leak needs specialist testing
A professional pool leak investigation is warranted when the bucket test confirms excess loss, the source is not visible, water is escaping rapidly, or there are signs that pipework may be leaking underground. It is also sensible before digging up paving, cutting concrete or replacing expensive equipment on a guess.
Pool leaks can occur in several places: the shell or lining, skimmers, lights, return fittings, suction and pressure pipework, valves, plant equipment, or joints where different materials meet. Each needs a different testing approach. A clear symptom does not always lead directly to the fault.
Specialist testing may include pressure testing individual pipe lines, isolating equipment, dye testing fittings, moisture testing surrounding areas and acoustic methods to listen for water escaping from pressurised pipework. Where pipes are concealed, trace-wire location equipment can help map their route before any excavation is considered. These methods are designed to narrow the problem down with minimal disruption.
For commercial pools, apartment complexes and facilities with high water use, early testing can also reduce downtime and help avoid disputes about whether water loss is coming from a pool, irrigation line or another service. Documented test results make repair decisions clearer for owners, managers and contractors.
Do not delay repairs once the source is confirmed
A small pool leak rarely stays a small issue indefinitely. Water under paving can wash out bedding material. A pipe leak can saturate ground around the pool, while leaks through cracks or fittings can worsen as the structure moves over time. The ongoing cost of replacement water, heating and chemicals also adds up.
The right repair depends on the fault. It may be as simple as replacing a seal, valve or fitting, or it may require repair to buried pipework, a pool lining, a structural crack or waterproofing detail. The useful outcome of proper testing is not just finding a wet area. It is identifying what needs repair, where it is located and whether the proposed work matches the actual cause.
Water Leaks Auckland uses non-invasive diagnostic methods to locate difficult pool and concealed pipe leaks before unnecessary excavation or demolition is considered. If your testing points to a leak, arranging a targeted assessment can replace guesswork with a practical repair plan suited to the property and budget.


Comments