
Moisture Testing Behind Plaster Walls in Auckland
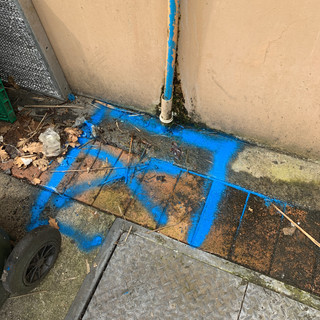
A brown mark beside a skirting board, paint that has started to bubble, or a room that smells damp after rain can all point to the same problem: water where it should not be. Moisture testing behind plaster walls gives Auckland property owners a way to investigate that problem without immediately cutting open linings and guessing at the cause.
Plaster walls can hide a surprising amount of water damage. A small plumbing leak, failed exterior flashing, shower waterproofing fault or condensation issue may wet framing and insulation long before obvious damage appears on the room side of the wall. The right testing helps separate a local surface issue from an active water entry problem that needs repair.
What moisture testing behind plaster walls can show
Moisture testing measures whether building materials are holding more moisture than they should. A technician takes readings across the affected area and compares them with nearby dry sections of the wall. This creates a pattern, rather than relying on one reading or the appearance of a stain alone.
Higher readings near the base of an internal wall may suggest a leaking pipe, a shower leak on the other side, or water tracking down from above. Moisture concentrated around a window, door opening or exterior corner can indicate rainwater entering through cladding, joinery or flashing. A broad area of elevated moisture may need further investigation, as water can travel along framing, plasterboard, insulation and pipework before it becomes visible.
The meter does not identify the water source by itself. That distinction matters. A wall can read damp because of a current leak, an older leak that has not dried, rain penetration, rising ground moisture, or condensation. Accurate diagnosis means combining moisture readings with the building layout, visible clues and, where needed, further leak detection tests.
Why surface checks are not enough
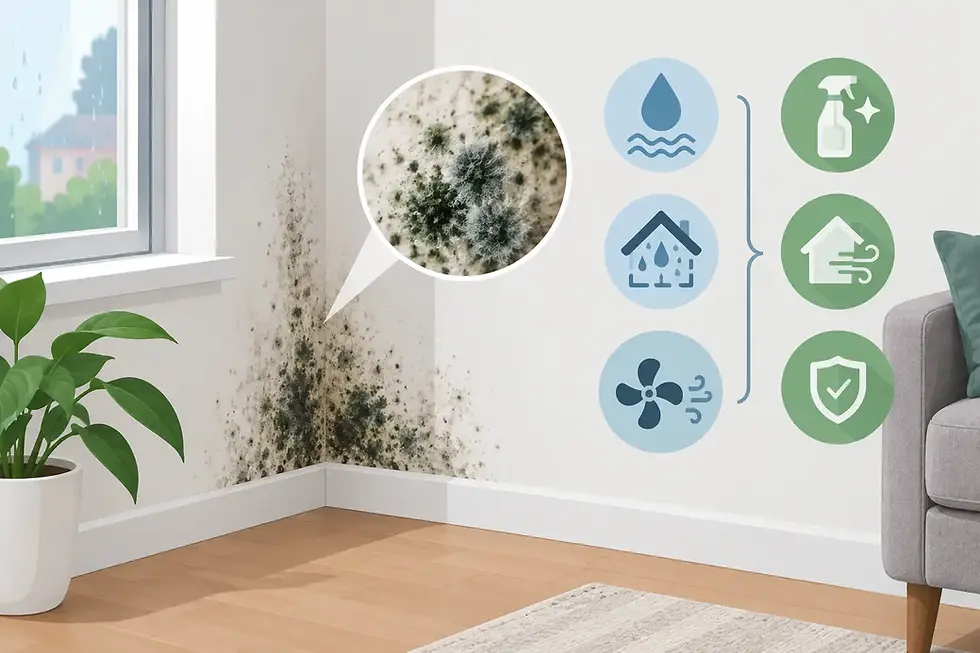
Touching a wall is unreliable. Plasterboard can feel dry while insulation or timber behind it remains wet, and a damp patch may appear some distance from the actual entry point. Similarly, mould on a wall does not automatically prove a plumbing leak. It may be caused by poor ventilation or cold surface condensation.
A careful inspection considers the location, shape and extent of moisture. It also considers what is on the other side of the wall. A wet area beside a bathroom, laundry, kitchen or hot-water cylinder has different likely causes from moisture below a street-facing window after heavy rain.
Signs it is time to test a plaster wall
It is worth arranging testing when you have a persistent symptom, particularly when it changes after using water fixtures or during wet weather. Acting early can limit damage to linings, timber, flooring and adjoining rooms.
Common warning signs include:
Peeling, blistering or discoloured paint
A musty smell that returns after cleaning or airing out the room
Soft, swollen or deteriorating skirting boards and wall linings
Mould growth in one recurring area
Damp carpet, flooring or wall edges near bathrooms and laundries
A water bill that has risen without a clear reason
Staining that becomes worse after rainfall or shower use
For commercial properties, a recurring damp patch can also affect tenant comfort, fit-out materials and day-to-day operations. Testing before repainting or replacing damaged linings avoids covering up a fault that will simply return.
How a professional wall moisture inspection works
The inspection starts with questions that narrow down the likely source. When did the mark first appear? Does it worsen after rain, after showers, or when a particular tap or appliance is used? Has there been recent plumbing work, roof work or an overflow? These details help determine which tests are worthwhile.
A technician then checks the affected wall and nearby areas with a moisture meter. Readings are taken at different heights and positions, including comparison readings from apparently dry wall sections. The aim is to establish the boundary of the moisture, identify its direction of travel and see whether the pattern corresponds with a pipe run, wet area, exterior opening or another building feature.
Thermal imaging may be useful as part of the inspection. It can reveal temperature differences associated with damp materials or an active water leak. It is not a replacement for moisture testing, because a cool area may also be caused by shade, air movement or different materials. Used together, however, these methods can provide a much clearer picture without unnecessary demolition.
If a concealed plumbing leak is suspected, further testing may include pressure testing, acoustic listening equipment or pipe tracing. These methods help locate pipework and identify leakage within the property boundary. If the issue is linked to rain entry or wet-area waterproofing, the investigation shifts towards the exterior wall, joinery, shower area or other likely entry path.
Non-invasive testing protects the property
Removing plaster is sometimes necessary to complete a repair, but it should not be the first diagnostic step. Random holes can add cost and create more disruption without locating the source. Non-invasive testing is designed to reduce that uncertainty.
There are limits. Dense tiles, foil insulation, metal framing, wall coverings and hidden services can affect readings or restrict access. In older Auckland homes, wall construction can vary significantly from one area to the next. A competent technician explains what the readings show, what they cannot confirm, and whether a small targeted opening or another test is justified.
Finding the cause before arranging repairs
The repair should match the cause, not just the visible damage. Replacing a damaged section of plasterboard will not solve a failed shower membrane. Repainting a stained exterior wall will not stop water entering around a window. Likewise, replacing pipework without confirming a leak can be an expensive mistake.
A plumbing-related issue may require a repair to a leaking supply line, waste pipe or fitting. For a rainwater issue, the solution may involve cladding details, sealants, roof drainage, flashings or window installation. Wet-area faults can involve shower screens, grout and sealant failures, drainage problems or waterproofing systems. Each situation needs its own repair plan and budget.
Drying also matters. Once the water source has been stopped, the wall cavity and affected materials need time and suitable airflow to dry. Depending on the extent of wetting, this may involve ventilation, dehumidification or controlled drying equipment. Materials that remain wet can support mould growth and continue to deteriorate even after the original leak has been repaired.
For property managers and owners preparing insurance information, documented readings and a clear description of the suspected source can help show why further work is needed. It also gives repair trades a more precise starting point.
When to act urgently
A damp wall should be treated as urgent when it is near electrical outlets, switchboards or appliances, when the plaster is sagging or soft, or when water is actively emerging. Turn off the relevant water supply if a pipe leak is suspected and it is safe to do so. Avoid drilling, cutting or removing sections of wall where hidden electrical wiring or pipes may be present.
Do not wait for mould to become widespread or for a ceiling or wall lining to fail. A small, contained fault is generally simpler to diagnose and repair than water that has travelled through multiple rooms or into structural timber.
Water Leaks Auckland uses moisture testing alongside specialist leak detection methods to identify what is happening behind walls and guide the next practical step. The objective is straightforward: find the source as accurately as possible, minimise disruption, and avoid repairs based on guesswork.
If a plaster wall is showing persistent dampness, treat the symptom as useful evidence rather than something to paint over. Early testing can turn an uncertain mark on the wall into a targeted repair decision before the damage spreads further.


Comments