
Thermal Imaging Water Leak Detection Explained
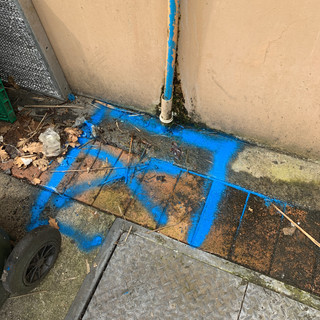
A damp patch on a ceiling does not always sit directly below the leak. Water can travel along framing, pipes, insulation and concrete before it becomes visible, which is why cutting into the first wet-looking area can be an expensive guess. Thermal imaging water leak detection helps narrow down where the problem is developing without immediately opening walls, lifting flooring or breaking concrete.
For Auckland property owners, this can make a real difference. A concealed leak can lead to rising water use, damaged linings, mould-prone moisture, failed finishes and disruption to tenants or business operations. A thermal camera is a valuable diagnostic tool, but it works best as part of a proper investigation rather than a quick scan and assumption.
What thermal imaging sees during leak detection
Thermal imaging does not see water inside a wall or slab. It detects surface temperature differences. When moisture evaporates, it often cools the material around it. Warm water pipework can also create warmer areas than the surrounding wall, ceiling or floor. A trained technician reads these temperature patterns to identify areas that need closer testing.
On a thermal image, a cooler area may indicate damp material, while a warmer line may suggest a hot-water pipe. The useful information is not simply that one spot is blue or red on a screen. It is the shape of the temperature change, its relationship to pipe routes and building materials, and whether the reading matches the symptoms at the property.
For example, a cold patch spreading down from a ceiling penetration may support a roof or plumbing leak. A warm, narrow line in a concrete floor may help trace hot-water pipework. An irregular cool area at the base of an internal wall may indicate moisture movement, but it could also be condensation or a temperature difference caused by insulation. That distinction matters before repairs begin.
When thermal imaging water leak detection is useful
Thermal imaging water leak detection is particularly useful where a leak is suspected but the affected area is concealed. It can reduce the amount of exploratory work required and help direct other tests to the right place.
It is commonly used for moisture concerns in internal walls and ceilings, water damage around bathrooms and laundries, hot-water leaks beneath concrete slabs, and damp areas near plumbing penetrations. It can also assist with investigating commercial buildings where ceiling voids, multiple services and occupied spaces make invasive inspection impractical.
In a home, the process may begin with an unexplained stain, bubbling paint, a musty smell or a water bill that has climbed without an obvious reason. In a commercial property, facilities teams may be responding to repeated ceiling damage, damp carpet tiles, a loss of hot water pressure or unexplained water consumption. Thermal imaging can provide an efficient first view of where moisture or heat patterns are occurring.
It is also useful after a leak has been repaired. Moisture readings and thermal images can help show whether an area is drying as expected, although drying times depend on ventilation, materials, weather conditions and the extent of saturation.
What a thermal camera cannot confirm on its own
A thermal image is evidence, not a final diagnosis. This is the key limitation that prevents unnecessary repair work.
Sun on an exterior wall, a recently used shower, underfloor heating, poor insulation, air movement and cold outdoor conditions can all affect surface temperatures. Auckland's humid weather can add another complication, as condensation may create dampness that looks similar to a plumbing leak at first glance.
A camera may show the path moisture has travelled, rather than the point where it entered. Water under a tiled shower floor, for instance, may move before it reaches an adjoining wall. A ceiling stain may be caused by a failed waterproofing detail, a waste pipe, a supply pipe, a roof issue or condensation from a poorly ventilated space. The image alone cannot reliably separate these causes.
That is why an experienced technician combines thermal findings with the building layout, visible symptoms, moisture testing, pressure testing and other specialist methods where needed. The goal is to identify the source, not simply the wettest-looking area.
How a proper inspection is carried out
The best approach starts with the property history. When did the dampness first appear? Does it worsen after rain, after showers, or when a particular appliance is used? Has the water meter been moving when all taps are off? Are there changes in hot-water performance or unusually high water charges?
The affected areas are then inspected visually and with thermal imaging. The technician looks for patterns around pipe routes, fixtures, exterior walls, ceiling penetrations and known wet areas. Moisture testing can confirm whether materials are damp and help define how far the moisture has spread.
Where the evidence points to a pressurised pipe leak, acoustic listening equipment may be used to listen for water escaping under concrete, tarseal, soil or flooring. Trace-wire pipe location can establish the route of buried services, which is particularly useful before excavation. If a leak involves a swimming pool, separate pool testing methods may be required because evaporation, structural movement, plumbing and fittings can each produce water loss.
This combination of tests gives a more reliable result than relying on a single device. It also helps determine whether the next step is a local repair, pipe replacement, waterproofing work, further indoor testing or a different trade altogether.
Common signs that warrant investigation
Not every damp mark means there is an active leak, but certain signs should not be left to worsen. Arrange testing if you notice one or more of the following:
A water meter that continues to move when all water use is turned off.
A sudden increase in water charges without a clear change in usage.
Warm areas on floors, particularly near suspected hot-water pipework.
Damp carpet, lifting vinyl, swollen skirting boards or peeling paint.
Ceiling stains that return after being painted.
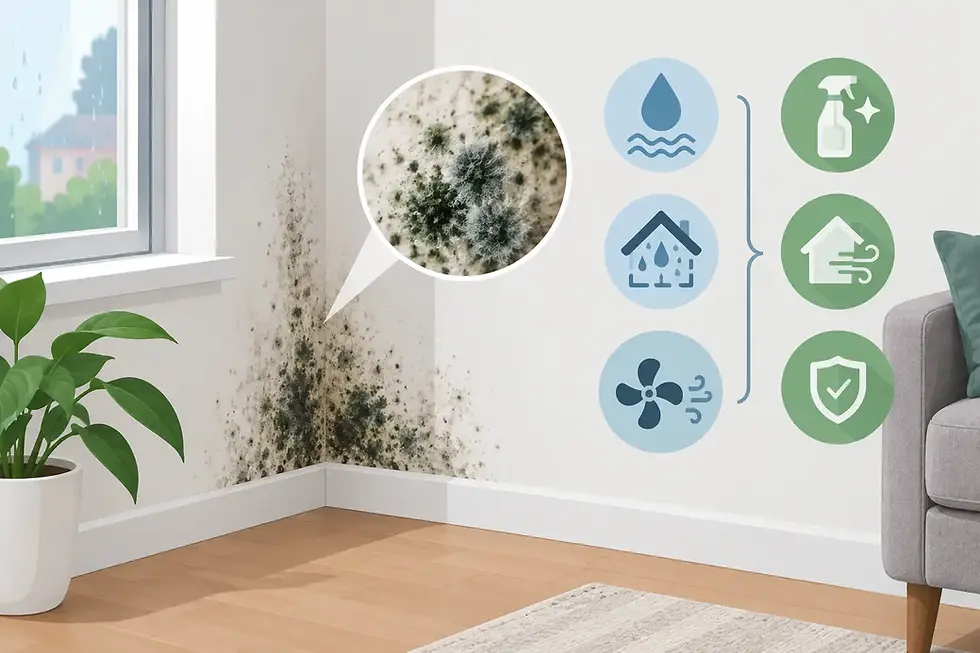
Persistent mould or a damp smell in a normally dry room.
Water loss from a swimming pool beyond what weather and normal use would explain.
Acting early can limit damage to linings, flooring, cabinetry and insulation. It can also avoid a small leak becoming a larger repair once moisture has had time to spread through the structure.
Why non-invasive testing saves money
The main value of thermal imaging is not the camera itself. It is the ability to make better decisions before demolition or excavation begins.
Without testing, a contractor may need to remove sections of wall, floor or concrete to search for a hidden leak. Sometimes that is unavoidable, especially where access is limited or pipework has failed extensively. However, targeted testing can reduce the search area and avoid opening sound materials.
For commercial sites, less invasive investigation can mean fewer interruptions to staff, customers and tenants. For homeowners, it can mean a smaller repair area and a clearer explanation of what needs to be fixed. There is still a trade-off: thermal imaging is most effective when conditions allow a clear temperature contrast, and more than one test may be needed to confirm the result. That additional diagnostic work is often far less costly than repairing the wrong area.
Choosing the right next step
If you have a visible damp area, avoid repeatedly painting over it or assuming it is only surface condensation. Take note of when it appears and whether it changes after rain or water use. If safe to do so, check whether your water meter moves while all fixtures are off. Do not turn off essential services or interfere with concealed pipework unless you know what you are doing.
A specialist can assess whether thermal imaging is the right starting point or whether acoustic leak detection, pipe tracing, moisture testing or pool testing will provide a faster answer. Water Leaks Auckland uses these methods together to locate concealed water issues before recommending repair or replacement options suited to the property and budget.
The right result is not a colourful thermal image. It is a clear, evidence-based path to stopping the water, protecting the building and repairing only what genuinely needs attention.


Comments